It’s been great to see people embrace the Finds feature since we launched it a few weeks ago. If you’ve been collecting up a storm like I have, then you’re probably feeling a bit overwhelmed by all the items in your collection. So it’s time for the next improvement: Folders that help you to organize your finds.
There are four folders:
- Considering: The default folder for all new finds you collect.
- Shopping List: A folder for items that you are getting ready to buy.
- Wardrobe: A folder for the items currently in your closet.
- History: A folder for items that you no longer own.
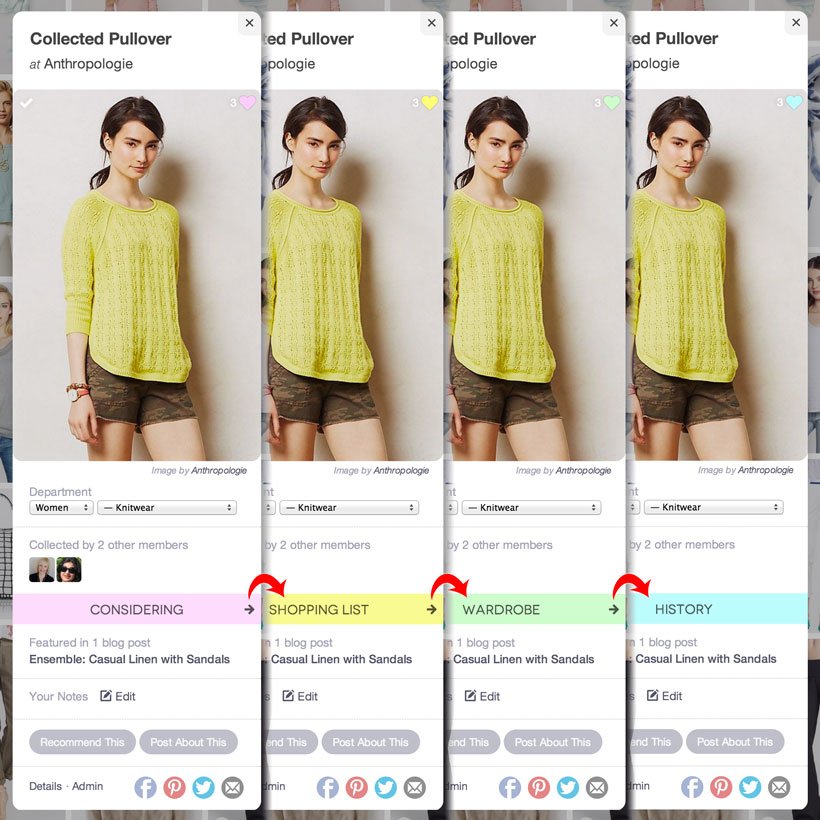
When you first collect an item it starts out in the “considering” folder. Moving finds between the folders is very easy. Just open the information popup (using the little info icon on the bottom left of an item’s card) and click the arrows alongside the name of the current folder.
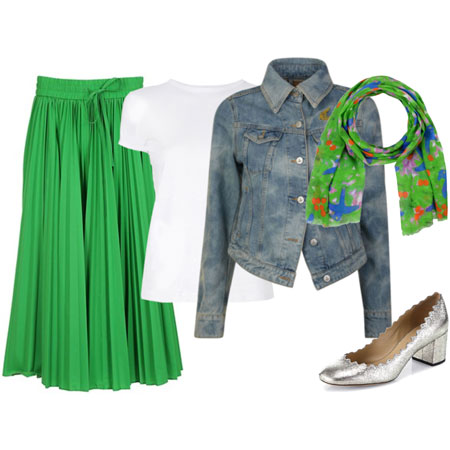
In the example below the find started out in “considering” and then moved to “shopping list”, “wardrobe” and then “history” with three clicks of the right arrow alongside the name. These changes are just as easy to undo by clicking the left arrow to move the item back into the previous folder. The change will immediately be reflected wherever the item appears.
Each folder has its own colour, and this colour is also reflected in the little heart in the top right corner of an item’s card.
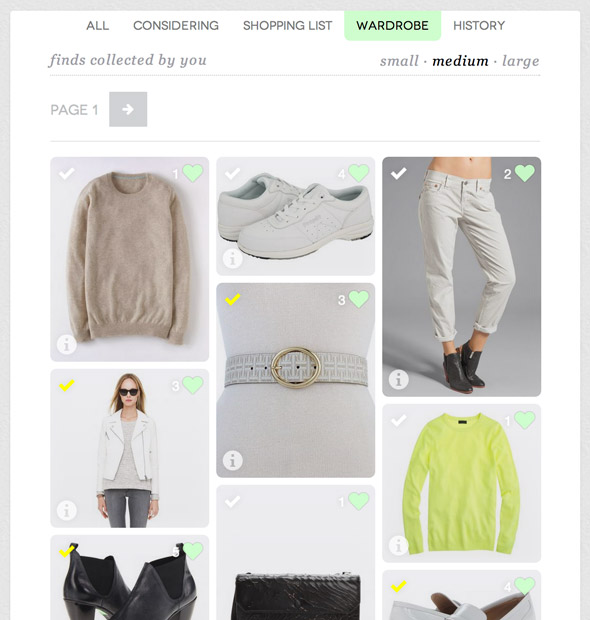
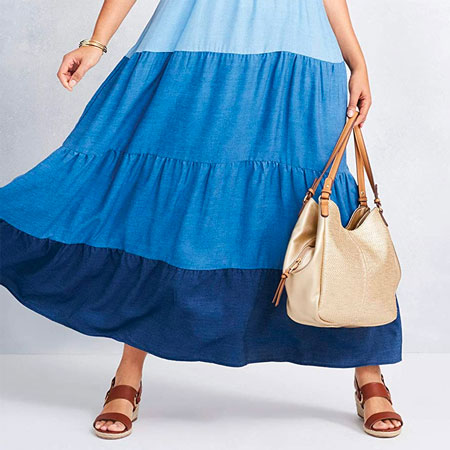
In order to browse the stuff you put in a particular folder, go to your finds (the “MINE” tab of the finds page) and click or tap the name of the folder at the top of the page. Below is the contents of my “wardrobe” folder. I have added all my 2014 purchases and it feels great to have them organized.
This is definitely not the last word on organizing Finds and we have more things planned, but for now it might help you to create some order. Hope you enjoy it as much as I do!
