Today we leave on a long overdue trip to see family and friends in the Netherlands and England. We will be working as we go, so activity on YLF will continue as normal with at least one post every day. With pretty much my entire wardrobe captured in Finds, I thought this would be a great opportunity to share my travel capsule in excruciating detail.
A few things upfront. First, I don’t travel light, so if you’re all about getting everything into a single carry-on, then this won’t be for you. Weather is unpredictable, particularly during this transitionary period between Spring and Summer, and I like to have plenty of options. I’d rather have a few items go unworn than feel frustrated by a lack of options.
Here are some things I had in mind when I chose the items:
- The weather will be mild and warm with daytime highs ranging from 60 to 76 degrees (16 to 25 degrees Celsius). It will be chillier in the mornings and evenings.
- We will have the opportunity to do laundry during the trip.
- We’ll spend our time catching up with family and friends, doing a little sightseeing, eating out, and of course, we’ll do some shopping too. So it’s casual and smart casual for the most part.
- I often change my top, and sometimes the entire outfit, when we go out in the evening.
- There are a couple of dressier occasions.
- We’ll do a lot of city walking and travelling on public transport.
I build a travel capsule around my favourite items that work within the above parameters. I try to create as many mix-and-match opportunities as possible so the capsule can support a lot of different outfits. But I will also take a few items that aren’t very versatile, often for fancier occasions. Everything comes out onto our bed while I’m figuring it out, and I try on some of the combinations to make sure they will work.
The colour palette comes together somewhere along the way. This time it was orange (national colour of the Netherlands!), white, black and blue with citron accents. This provides a good neutral base with an adequate injection of colour.
Here’s more detail on each part of the capsule. Note that basics, like undies, camisoles, sleepwear and socks, are not represented in the capsule. The capsule does include the items I will wear en route.
Footwear
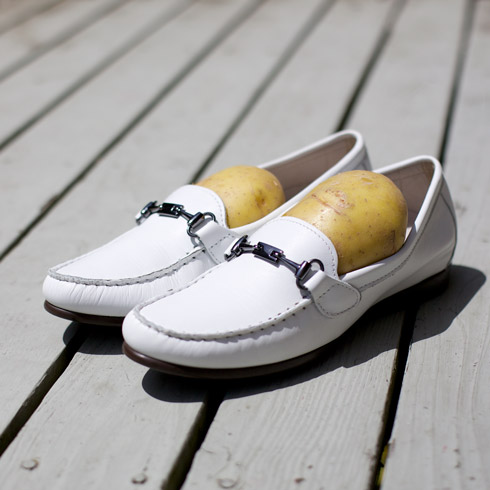
I start with my footwear selection because happy feet are paramount when we’re going to spend most of our time walking in the city. Fortunately, I had a test run with two footwear styles earlier in the year when we spent spent two weeks in Hong Kong. I walked Hong Kong flat in my Paul Green loafers and Calvin Klein booties, which I find more comfortable than sneakers. I also recently went shopping with a client and could test run the Franco Sarto Holts, which were a dream. That makes three pairs of very comfy walking shoes for most of the trip. I can swap them out if and when my feet need a change. The heeled Okala pumps, although comfortable, are for the dressier occasions on the trip, and will see limited action.

View Info
Bottoms
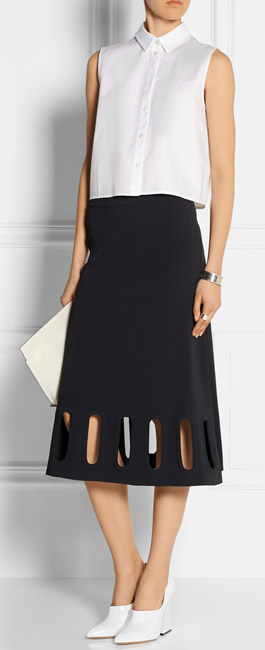
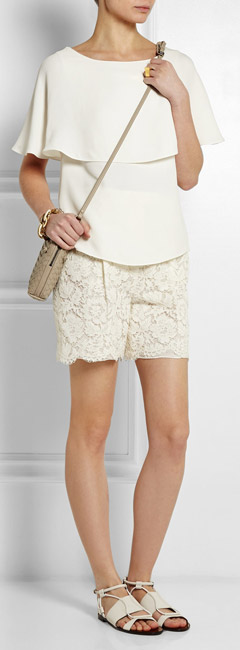
Once I’ve selected shoes I select the bottoms that work with them. I’ve chosen six bottoms, but only four of them are for everyday wear. I will wear the skirt and white flares with heels on a few fancier occasions.
I stuck to jeans because they’re practical, comfortable and easy to launder. Two pairs of blue and two pairs of white across three silhouettes provides ample variety. Jodhpur jeans, slim straight skimmers and two pairs of streamlined boyfriend jeans. White jeans showcase dirt more easily than blue jeans, but as I said up top, I pack my favourite items. And since white boyfriend jeans are wardrobe workhorses, I do not want to be without them.

View Info

View Info
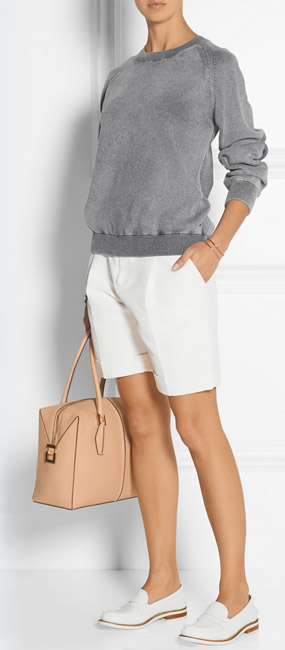
Tops
There are eleven tops in this capsule, but only ten of them are for everyday wear. The tight orange cropped top can only be worn with the skirt and white high-waisted flared jeans, which I’m saving for slightly fancier occasions. With a couple of exceptions, all ten everyday tops can be worn with each of the four everyday pairs of jeans.
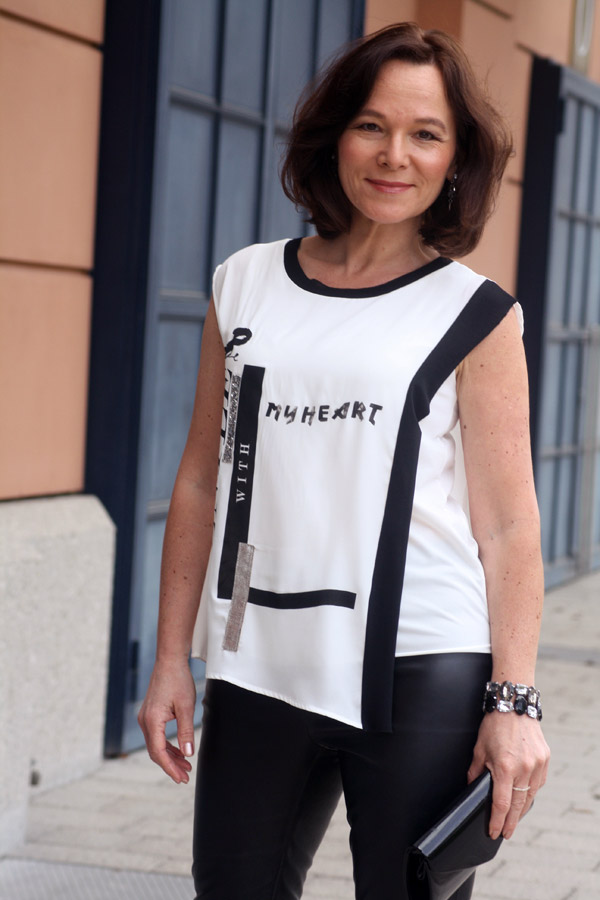
It’s important that my tops assortment has variation in silhouette, thickness, coverage, colour, pattern and fabrication so that I don’t feel bored with my look over the four week period. Some patterns, some texture and some solids. Different sleeve lengths and torso lengths. Slim fits and fluid fits. And a little daytime sparkle just for fun.
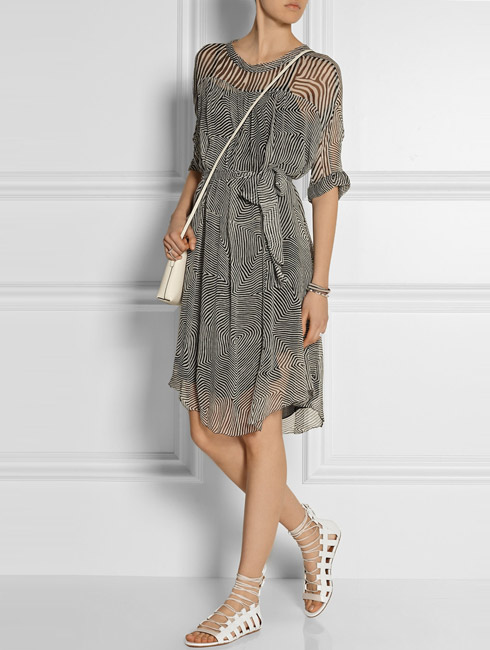
Nine of the tops are pullovers because they are easy to wear, easy to launder, versatile, and comfortable. Note that the knitwear is for mild and warm weather (the items are made of cotton, silk and viscose blends). Some of the pullovers are very thin and as breezy as a lightweight T-shirt.
I watch weather forecasts obsessively in the weeks before we travel, but also take into account that the forecast might be wrong. For cool weather I have included a few heavier pieces, like the silver grey cropped pullover and the short-sleeved black turtleneck. For warmer weather I have included very breezy pieces like the peplum T-shirt and the polka dot blouse.

View Info
Top Pick

View Info

View Info

View Info
Top Pick

View Info
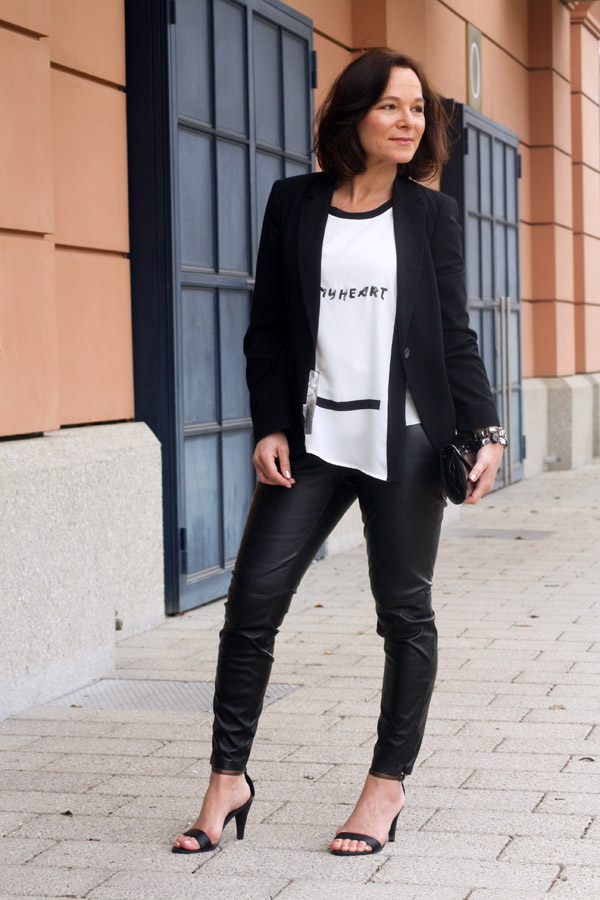
Toppers
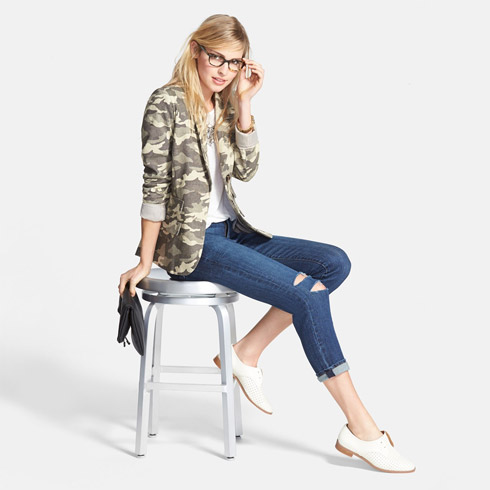
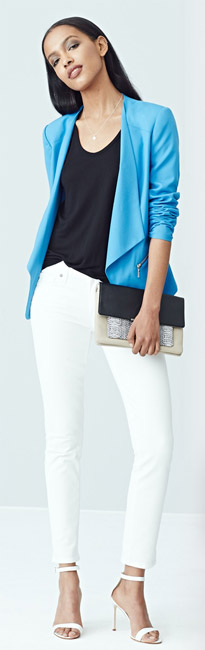
I’m taking three toppers because I’ll probably need one at some point during each day. The ones I chose are modern classics that provide maximum versatility. The denim jacket is the ultra casual option. The orange blazer is for a tailored look and bright pop of colour. And the sea foam leather moto jacket is for warmth.
I can wear the denim jacket with all the bottoms except the jodhpur jeans (too matchy-matchy). The blazer and sea foam jacket work with every bottom except the skirt. I’m happy matching the citron top with orange and sea foam toppers. And the cropped top creates a lovely twinset effect with the orange blazer, which I can wear with my white flares for a fun ‘70s look.

View Info

View Info
Top Pick

View Info

View Info
Update: One change I’m making after listening to some of the comments is to include my citron trench.
Accessories
Many of these accessories will provide a happy pop of colour that changes up my outfits. I’ll wear my green specs and a gold watch each day. I’ll alternate between the turquoise tote and red clutch throughout the trip, and throw on the scarf from time to time. I’m keeping it simple by taking only one belt because many of my tops can be worn out, and three pairs of my jeans don’t need a belt.
Most would carry one bag on this trip, but since bags are my thing, I need at least two. It took great discipline for me not to pack three.

View Info

View Info

View Info

View Info
You can visit the collection page to see my travel capsule in its entirety. The picture below shows it just before I started packing.
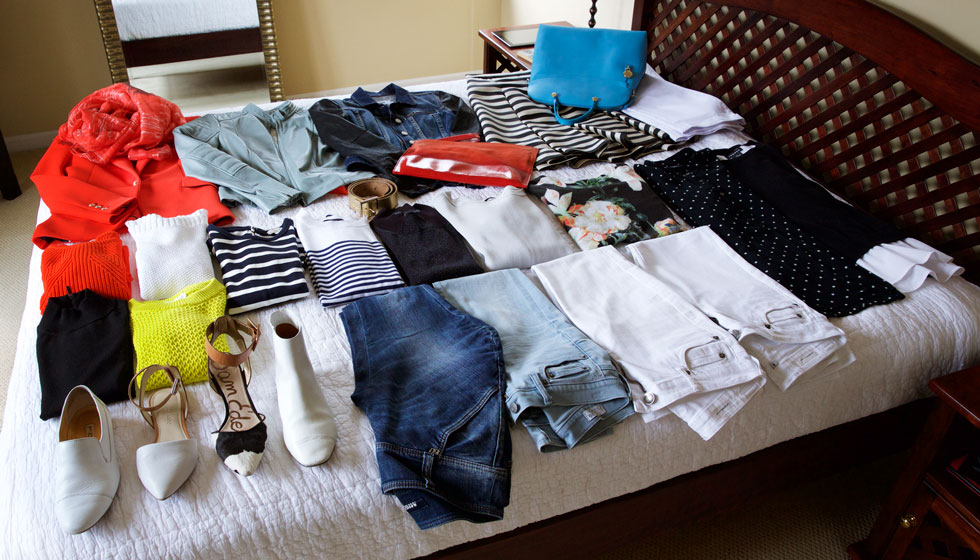
No matter how well you plan things upfront, there are usually a few items you wished you’d packed, and others that you should have left behind. I’ll be showing you some of the outfits while we’re away, and reporting back on how successfully the capsule worked out.


